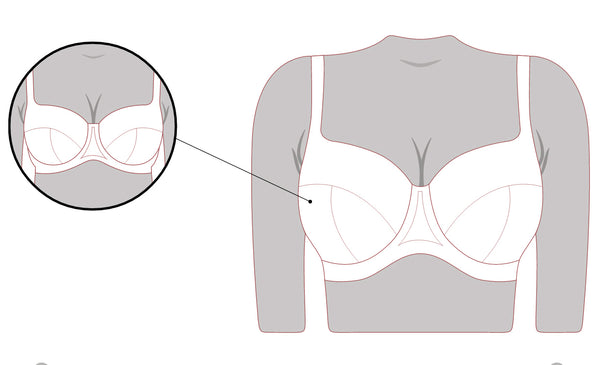
Illustrated Fitting Instruction


Step 01
Wires sit close to the chest.
If the wires stand away from the body at the center front or dig in at the underarm, a larger cup size is needed.

Step 02
There is no bulging at the underarm or the neck edge. The breasts are totally
encased within the wire. The wire should not sit on the breast tissue.
If the bust is bulging over the cups at the neck edge and/or the underarm then a larger cup size is needed.

Step 03
The straps are comfortable.
If the straps are digging into the shoulders, they are supporting too much weight of the breasts and so the underband may not be giving enough support. A smaller back size may be needed.

Step 04
There is no wrinkling on the cups and no space between the bust and wire.
If the cups are wrinkling and there is space at the top and the sides of the cup, a smaller cup size is needed.

Step 05
The arms are lifted and the bra stays in place.
If the cups lift away from the chest when the arms are lifted, then either a smaller back size and/or a larger cup size is needed.

Step 06
Underband is not riding up and is firm, but not uncomfortable.
If the underband is riding up, the back size is too big.

Step 07
The underband is firm, but not uncomfortable.
If the band is uncomfortably tight and the hook and eye is straining, then the back size is too small.

Step 08
It is quite common for a woman to have one breast bigger than the other. Sometimes there is only a slight difference, but sometimes there is a cup size difference. It is important to fit the bigger breast so that it is encased by the wire. The straps can be adjusted so they are looser on the larger side and tighter on the smaller side to achieve the best fit. Once the correct bra size has been found, it is a good idea to try a t-shirt on over it to make sure the shape looks supportive and smooth with no bulging.


